Why Cavity Wall Insulation Fails: The Invisible Installation Problem Behind Damp and Mould
Cavity wall insulation has a reputation problem it mostly earned somewhere else. The material itself works. Pumped correctly into the gap between a building's two brick or block leaves, it can cut heat loss significantly and remains a widely recommended energy efficiency upgrade, with real savings on heating bills when the job is done properly. That last clause carries almost all the risk.
Properly installed cavity wall insulation should last 25 years or more. When it fails early, the cause is rarely the material degrading on its own. It is poor installation, undiagnosed damp, or ventilation that was never adjusted to match the newly sealed wall. And failure is not a quiet event where the insulation simply stops helping. It becomes an active source of damp and mould inside the home.
The reason these failures stay hidden for so long comes down to one structural fact about how the work is done: insulation is injected into a sealed cavity that nobody can see into, before or after. Coverage is assumed. It is rarely verified. That single detail explains most of what follows.
Key Takeaways
- Cavity insulation is pumped into a closed wall cavity through a drilled hole, so installers cannot see where it settles or whether it fully fills the gap.
- Common defects — underfilling, overfilling, snagging on wall ties or pipes — create voids that stay invisible until cold or damp exposes them.
- Not every cavity should be filled: width, brick condition, capping and exposure to wind-driven rain all affect suitability.
- Water reaching the cavity from outside can turn insulation into a moisture conductor instead of a thermal barrier.
- Whether failed insulation should be dried out or removed depends on whether the original problem was water ingress or a flawed installation, though the material involved and how saturated it has become can shift that call either way.
How Is Cavity Wall Insulation Actually Installed?
Most cavity walls are filled with one of several materials, commonly injected polyurethane spray foam (open or closed-cell), blown-in polystyrene (EPS) beads bonded with an adhesive, or blown mineral wool. Each is chosen partly for cost and partly for how well it suits the width and exposure of a given wall.
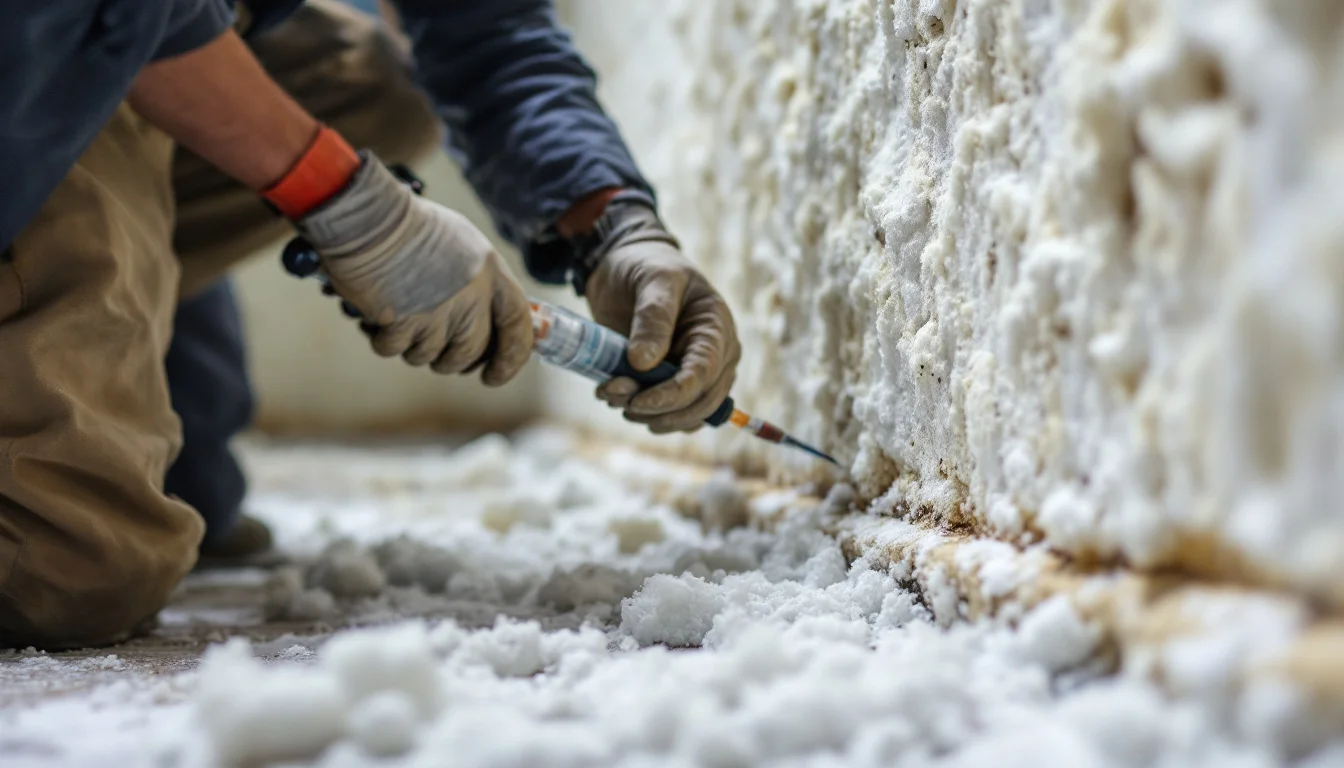
The installation method is the same regardless of material. A contractor drills a pattern of holes through the external wall, into the cavity, and injects the chosen material through a hose or lance. Inside the wall, the material expands or settles and is left to solidify. The holes are then patched and pointed over.
The part nobody can inspect
This is where the defining limitation sits. Once the material is inside the cavity, it is no longer visible, and it cannot be seen again without opening the wall. Installers cannot watch it spread, confirm it reached every corner, or check that it avoided gaps around obstructions. Full coverage is something the industry assumes happened correctly, rather than something that gets verified wall by wall.
In the UK, retrofit work carried out under formal quality schemes is expected to involve a TrustMark-approved retrofit coordinator assessing the property and deciding which insulation measure is appropriate, under an overarching retrofit standard known as PAS 2035. A separate but related standard, PAS 2030, covers the installation of the measures themselves; both standards have been revised since their original publication. These are industry quality-assurance standards rather than law, and their exact scope can change, so anyone relying on them should confirm current requirements with the scheme operator rather than treating them as fixed. They also do not solve the underlying visibility problem: even a well-specified job is still filled blind.
Why Does an Invisible Installation Produce Undetectable Defects?
The blind injection process does not just make verification difficult. It creates specific, nameable defect types that have nothing to do with the material itself and everything to do with how it was placed.
Underfilling leaves gaps where cold air can still move through the cavity. Overfilling can block the ventilation gaps the wall relies on, or let insulation bridge across to the inner leaf where it should not touch. Insulation can also snag on wall ties or pipework as it expands, leaving a pocket of empty cavity behind the obstruction that no one on site can detect. Using a material not suited to the property's exposure level compounds all of the above, because a wall exposed to driving rain needs a different tolerance for moisture than a sheltered one.
From void to visible problem
None of these defects announce themselves at the time of installation. Wall ties, which bridge the inner and outer leaves, routinely create a small cold spot where the insulation could not wrap around the obstruction; the mortar smears that often collect around them are what tradespeople actually call "snots." For months, sometimes years, that cold spot does nothing. Then ordinary household condensation — the moisture every home produces from cooking, showering and breathing — finds the one patch of wall that is colder than the rest, and settles there. Damp or mould can appear on an internal wall that looks, from the outside, perfectly dry.
The insulation did not fail in the sense of degrading. It was never actually there.
Which Walls Should Never Be Filled? A Pre-Installation Checklist
Because defects cannot be caught after the fact, the only reliable safeguard is assessing the wall before any material goes in. A few checks determine whether a cavity is a reasonable candidate at all.
- Cavity width. Cavities narrower than 50mm are not suitable for insulation at all; most modern homes have cavities between 50mm and 100mm, which is the practical working range.
- Brick and mortar condition. Spalled or cracked bricks and damaged pointing need full repair before filling. Insulating a wall with compromised brickwork just packs material against a surface that is already letting water through.
- Cavity capping. A cavity that is open at the top, rather than properly closed off, allows moisture to migrate upward into the roof space instead of staying contained.
- Exposure to wind-driven rain. Elevated or coastal sites, or walls that regularly take driving rain, are poor candidates for filling unless the masonry has a breathable waterproofing treatment to reduce water absorption first.
- Full-fill versus partial-fill. Full-fill systems generally carry more risk of moisture bridging than partial-fill, particularly on walls exposed to wind-driven rain, since a partial fill retains a clear air gap that helps limit moisture transfer to the inner leaf; the right choice depends on the cavity's actual width and exposure rather than a fixed preference for one method over the other.
How Does Water Actually Travel From the Brick to Your Living-Room Wall?
Insulation failures linked to damp usually follow a traceable path, even though the water itself is never visible until it reaches the inside of the house.
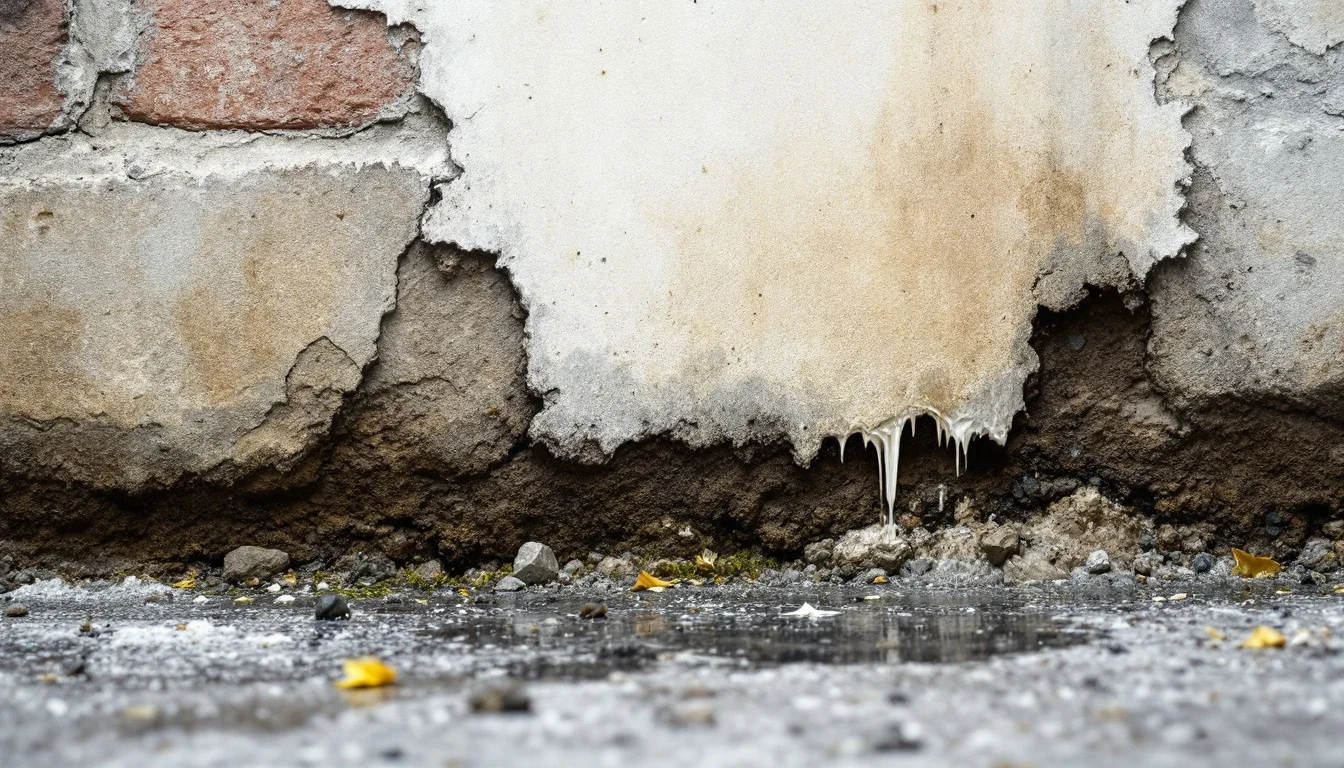
Brick is naturally porous. A sound, well-pointed brick sheds most wind-driven rain, but spalled or cracked brick absorbs it, carrying moisture straight into the cavity behind. Water finds the same route through cracked mortar joints, damaged render, or gutters that have blocked and started overflowing down the wall face. On an exposed site, even small defects of this kind are enough to let water in over time.
Moisture that was already there
Not all of it comes from outside weather. Some cavities still contain rubble and mortar droppings left over from when the wall was originally built. That debris absorbs and holds moisture that penetrates the external leaf, acting as a long-term damp reservoir inside a wall that otherwise looks fine. A cavity left uncapped at the top adds another route, letting moisture condense into the loft space and cause damp and mould there instead of, or as well as, inside the living space.
Wherever it originates, the outcome is consistent. Insulation that gets wet loses most of its thermal performance. Once saturated, insulation conducts moisture from the external wall through to the internal wall rather than blocking heat loss, because a moisture-saturated material is a poor insulator.
There is a less obvious contributor worth flagging. Filling a cavity increases a wall's thermal efficiency, which changes how moisture behaves inside the home. Trickle vents on windows sometimes need installing alongside the insulation to offset that shift; skipping them can raise indoor humidity and condensation even where the cavity itself was filled correctly.
Do You Even Have Cavity Wall Insulation — And How Old Is It?
Before diagnosing a failure, it helps to establish two more basic facts: whether the wall has cavity insulation at all, and roughly when it was installed.
In the UK, building regulations are generally understood to have made cavity insulation mandatory in new houses from around 1990 onward, which means homes built after that date usually have it from construction. Houses built between roughly 1920 and 1990 are a mixed picture: some had insulation added later as a retrofit, others never had it installed at all. This is a UK-specific regulatory milestone rather than a rule that applies everywhere, so readers elsewhere should check their own property's construction records or energy performance documentation rather than relying on a fixed year.
A simple physical check works regardless of location. At a door or window reveal, cavity walls are typically 260mm to 300mm thick, noticeably deeper than a solid wall built without a cavity. Measuring the reveal is a quick way to confirm whether a cavity exists before worrying about what, if anything, has been pumped into it.
Age matters for a separate reason. Houses insulated during the 1970s and 1980s sometimes used materials that have since degraded, and in some cases used urea formaldehyde foam, which releases harmful gases as it breaks down and needs professional removal rather than simply drying out or topping up.
What Are the Warning Signs Something Has Gone Wrong?
A handful of signs tend to recur across failed cavity insulation, whatever the underlying cause:
- Cold or persistently wet patches on an internal wall
- Blistered or blown plaster, wallpaper or paint
- Condensation forming on internal wall surfaces
- A musty smell in a room with no obvious ventilation problem
- Spalled or cracked brickwork visible on the external wall
- A heating bill that keeps rising without any change in how the home is used
If It Has Failed, Should You Remove It or Dry It Out?
The first diagnostic question is which of two problems caused the symptoms, which loops back to the installation question this article opened with: was the cavity filled adequately but then invaded by water from outside, or was the original installation itself flawed?
Where the cavity was filled adequately throughout and the issue is water that found its way in from outside — through cracked brick, failed pointing, or an uncapped cavity — the insulation itself does not usually need to come out. Once the entry point for water has been fixed, it can often be left to dry out. Where the installation itself was faulty — underfilled, overfilled, or riddled with voids from snagging on ties and pipework — removing and replacing the insulation is typically the appropriate response. Even within that split, the final call also depends on the material involved and how saturated or degraded it has become: insulation left wet for a long period, or made from a material that breaks down when soaked, may need extracting regardless of which problem started the damage.
That distinction is hard to make without someone physically investigating the cavity, which is the same limitation that made the original defect invisible in the first place.
In the UK, cavity insulation is commonly understood to come with a 25-year guarantee from the installer, usually backed by a national guarantee body known as CIGA. If the original installer is no longer trading or will not act, the guarantee body or the issuer of the original guarantee is the next point of contact. This is presented as common industry practice rather than a quoted legal requirement, and terms vary by provider and by country, so it is worth confirming current coverage directly with whichever body issued the original guarantee before assuming it still applies.
Frequently Asked Questions
Can cavity wall insulation cause damp that wasn't there before? Indirectly, yes. The insulation itself does not generate moisture, but filling a cavity changes how a wall handles both existing water ingress and indoor humidity. A wall that was marginal before filling can tip into visible damp afterward if ventilation was not adjusted at the same time.
Is cavity wall insulation worth the risk in an older house? It depends on the pre-installation checks passing, not on the age of the house in isolation — but older properties carry an extra practical wrinkle: if insulation was installed decades ago by a firm that is no longer trading, any original guarantee may need to be pursued through the issuing guarantee body rather than the original installer, which is worth checking before relying on a guarantee to cover a later problem.
How do I find out who originally installed my cavity wall insulation? Property deeds, energy performance paperwork from a previous sale, or a loft/wall survey can sometimes reveal the installer or the date of work. Where no record exists, a surveyor can usually estimate the approximate era from the material found inside the cavity.
Does a damp patch always mean the insulation has failed? No. A damp patch can also come from a leaking gutter, a plumbing fault, or rising damp unrelated to the cavity. The warning signs listed earlier point toward the cavity as one possible cause among several, not a confirmed one.
Conclusion
A significant part of the difficulty with cavity wall insulation is that nobody can watch it go in, which makes both flawed installation and unrelated water ingress harder to catch early. That leaves owners trusting an outcome they cannot inspect, which is a strange position for a building component that affects damp, mould and heating bills for decades. One open question worth raising is whether verification methods that already exist, such as thermal imaging or borescope checks of the filled cavity, should become a standard part of handing over the job, rather than an extra step reserved for disputes after something has already gone wrong.