Screed Floors: Types, Drying Times and Common Defects

A renovator pours a 100mm anhydrite screed, trusts the supplier's promise of a two-week dry time, and books the tiler for the following month. Weeks later the floor still reads too wet to tile, and the whole schedule collapses. This gap between promised and measured drying times has surprisingly little to do with which binder was poured.
Floor screeds are built on one of two binders: ordinary cement, or calcium sulphate, usually called anhydrite. That choice matters for drying behaviour, moisture tolerance and installation method. But the sharpest lesson from real renovation sites isn't about which binder to pick. It's that published drying-time figures are best-case numbers, and that the most frequently reported reason an anhydrite screed fails under tile has little to do with drying time at all. It's a surface defect called laitance, documented repeatedly in anhydrite installations.
Key Takeaways
- Anhydrite screed is prized for fast drying and dimensional stability, since it does not shrink as it cures, according to Cemix, a construction materials manufacturer.
- Under underfloor heating, anhydrite can be force-dried from as early as 7 days after pouring, against a 28-day wait for cement cited by Cemix — though other guidance, such as BS 8204 and BSRIA recommendations, often permits heating cement screed earlier, making the 28-day figure a manufacturer specification rather than a universal rule — but as the drying section below shows, real pours routinely take far longer than that figure suggests.
- Moisture-sensitive finishes shouldn't be laid until the screed meets BAL's dryness thresholds: roughly 0.5% moisture by weight for impermeable coverings, or under 1% by weight for permeable ones.
- The defect most frequently reported to ruin a tiled anhydrite floor, per accounts on the Green Building Forum, isn't premature tiling. It's laitance, a weak surface layer on cured anhydrite that's too weak to bond adhesive to, and that must be removed before tiling regardless of how dry the floor is.
Cement or Anhydrite? The Binder Decision in Practice
Picking a binder starts with the room's moisture exposure, not a drying-time wishlist.
Cement screed needs slow, controlled drying, but tolerates damp, unventilated spaces reasonably well — a basement utility room or an unheated extension, for instance. Anhydrite screed, once mature, is far less forgiving: contact with water softens it and permanently reduces its strength. According to Cemix, cement is the safer choice in rooms that stay permanently humid, while anhydrite performs best in living spaces that will remain dry once cured.
Drying speed also can't simply be forced on cement screed. Cemix explains that drying it too fast causes what it calls 'burning': the cement grain hydrates only on the surface and never properly bonds through its thickness, leaving a floor that looks dry but isn't structurally sound. That's why Cemix recommends waiting 28 days before force-drying cement with underfloor heating, regardless of how dry the surface already looks, though this is the manufacturer's own guidance rather than a fixed industry-wide limit — other common standards allow heating to begin somewhat earlier.
The two binders also behave differently as the floor moves. Cement screed with underfloor heating needs expansion joints roughly every 3 by 3 metres, or every 6 by 6 metres without heating, per Cemix. Anhydrite screed is poured and expands as a single continuous slab, with a joint typically placed only at the door. Cemix cites a figure of up to 200 metres without cracking, though the source doesn't make clear whether this refers to a linear span or a floor area, so the figure should be treated as indicative rather than a precise engineering limit. Skipping joints between separate rooms nonetheless risks transmitting sound through the floor, an acoustic bridging effect worth avoiding in multi-room renovations.
How Long Does Anhydrite Screed Actually Take to Dry?
Marketing literature for anhydrite often promises speed. Barrow Mix, a screed and concrete supplier, advertises an average drying rate of roughly 1mm per day. At that flat rate, a standard 40mm topping would be dry in 40 days, a 70mm pour in 70 days, and a 100mm pour — common where underfloor heating pipes need deeper cover — in 100 days.
But a flat daily rate doesn't hold once the screed gets thick. Technical data cited in a renovation discussion on the Green Building Forum describes a different formula: anhydrite dries at about 1mm per day for the first 40mm, then slows to roughly 0.5mm per day beyond that, because moisture has to travel further to reach the surface. Running the same three thicknesses through this thickness-adjusted formula produces sharply different numbers.
| Thickness | Flat-rate claim (1mm/day) | Thickness-adjusted estimate | Reported real-world outcome |
|---|---|---|---|
| 40mm | 40 days | 40 days | no case data available |
| 70mm | 70 days | 100 days | still not fully dry after roughly 60 days |
| 100mm | 100 days | about 160 days | about 12 weeks (84 days), per the one documented case |
The thickness-adjusted formula alone predicts nearly 23 weeks to dry a 100mm anhydrite pour — more than eleven times the two weeks some suppliers quote on site, and well past the flat-rate figure too. Real cases documented on the Green Building Forum sit broadly within or beyond that range rather than anywhere near two weeks. One 100mm pour over underfloor heating still measured 18% moisture after 19 days, against roughly 12% in a dry reference wall, despite the builder's assurance that two weeks would be enough. A 65–70mm pour in a house extension was still not fully dry after nearly two months. A separate, nearly 100mm-thick section took about 12 weeks to dry. None of these figures is a fixed constant — drying speed depends on ambient temperature, ventilation and whether the floor is heated — but all three sit far closer to the thickness-adjusted formula than to a flat 1mm/day assumption, and nowhere close to a two-week promise.
Underfloor heating changes the picture again. Where heating is available, anhydrite can be force-dried from as early as 7 days after pouring, while Cemix cites a 28-day wait for cement — a figure that reflects the manufacturer's own recommendation rather than a fixed industry rule, since standards such as BS 8204 and BSRIA guidance often allow cement screed to be heated earlier, around 21 days. The recommended protocol, described in the same Green Building Forum discussion, starts the heating at 25°C and raises it a few degrees every couple of days until it reaches normal operating temperature, rather than switching straight to full heat. Without any heating at all, Cemix notes that anhydrite screed can take up to six months to dry in winter, when low temperatures and poor ventilation slow evaporation to a crawl. Fast-drying, in other words, is a property of the material under ideal conditions, not a guarantee that travels with it onto an actual site.
The Defect That Has Nothing to Do With Drying Time: Laitance
Waiting long enough for the screed to dry doesn't by itself guarantee a sound tiled floor. The most frequently reported failure in anhydrite installations, according to accounts on the Green Building Forum, isn't premature tiling at all. It's a thin, weak layer on the cured surface called laitance.
Laitance forms as fine particles rise to the top of the anhydrite while it cures. The resulting layer is too weak to grip tile adhesive, and it can also slow the floor's own drying by sealing moisture underneath. Left in place, it causes adhesive to fail, not because the screed was wet, but because the tile was never bonded to solid material in the first place. That's why a correctly dried floor can still delaminate under tile months after installation.
Before any adhesive goes down, a short sequence of checks settles whether the floor is actually ready.
A practical sequence before tiling
- Measure moisture. Moisture-sensitive finishes shouldn't be laid until the screed falls below roughly 0.5% moisture by weight, or under 75% relative humidity, for impermeable coverings such as vinyl; permeable finishes can tolerate up to about 1% by weight. These thresholds are cited by adhesive manufacturer BAL.
- Run the plastic-sheet test if a moisture meter isn't available. Tape a sheet of plastic over part of the floor for at least a day; a darker, damp patch underneath when it's lifted means the screed is still releasing moisture.
- Inspect for laitance. A chalky, dusty or unusually smooth surface layer is the visual sign of it, independent of how dry the floor otherwise reads.
- Remove it before tiling. Experienced contractors sand the entire floor with a 60-grit sanding machine, then apply a two-part primer with a sand-blinding layer to give the adhesive something solid to grip.
Other Failure Modes After Curing
Two further defects show up less often, but both are specific to anhydrite rather than cement.
The first appears during installation, where underfloor heating pipes meet reflective barriers. Cemix warns that direct contact between anhydrite and aluminium foil triggers a chemical reaction: the foil effectively corrodes into the screed, and bubble-shaped craters form on the surface as it cures. Avoiding direct foil contact when laying out the heating pipes prevents the defect before it starts.
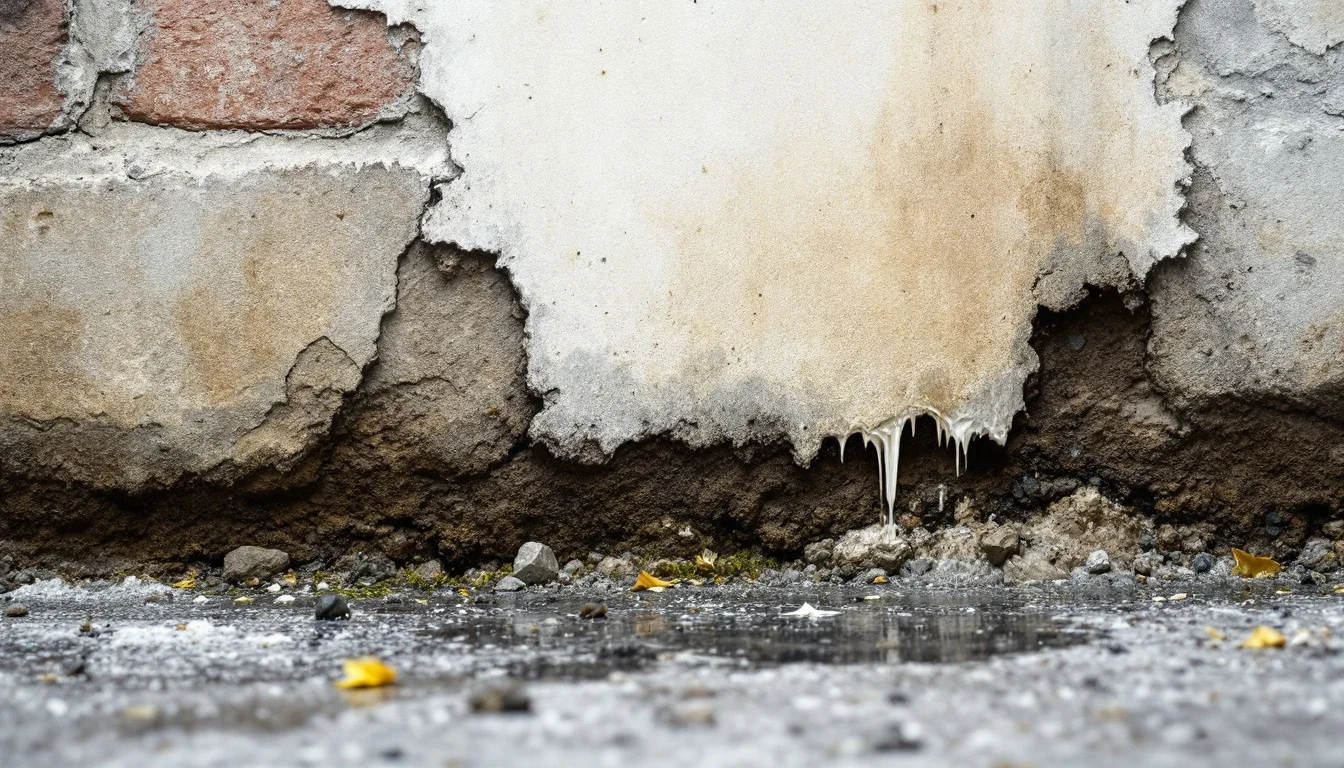
The second confirms that anhydrite's water sensitivity doesn't end once the floor has cured. In one case documented on the Green Building Forum, a screed left to dry for about nine months absorbed close to 1,000 litres of water after a roof leak, a reminder that mature anhydrite, as Cemix notes, loses strength and softens on contact with water long after installation. That floor was force-dried again with underfloor heating at 32°C for two weeks before it could be tiled, effectively repeating part of the drying process from the point the leak occurred.