When Mortar Joints Need Attention: A Homeowner's Guide to Diagnosing and Repointing Brick and Stone
Mortar Joints Are Supposed to Fail First
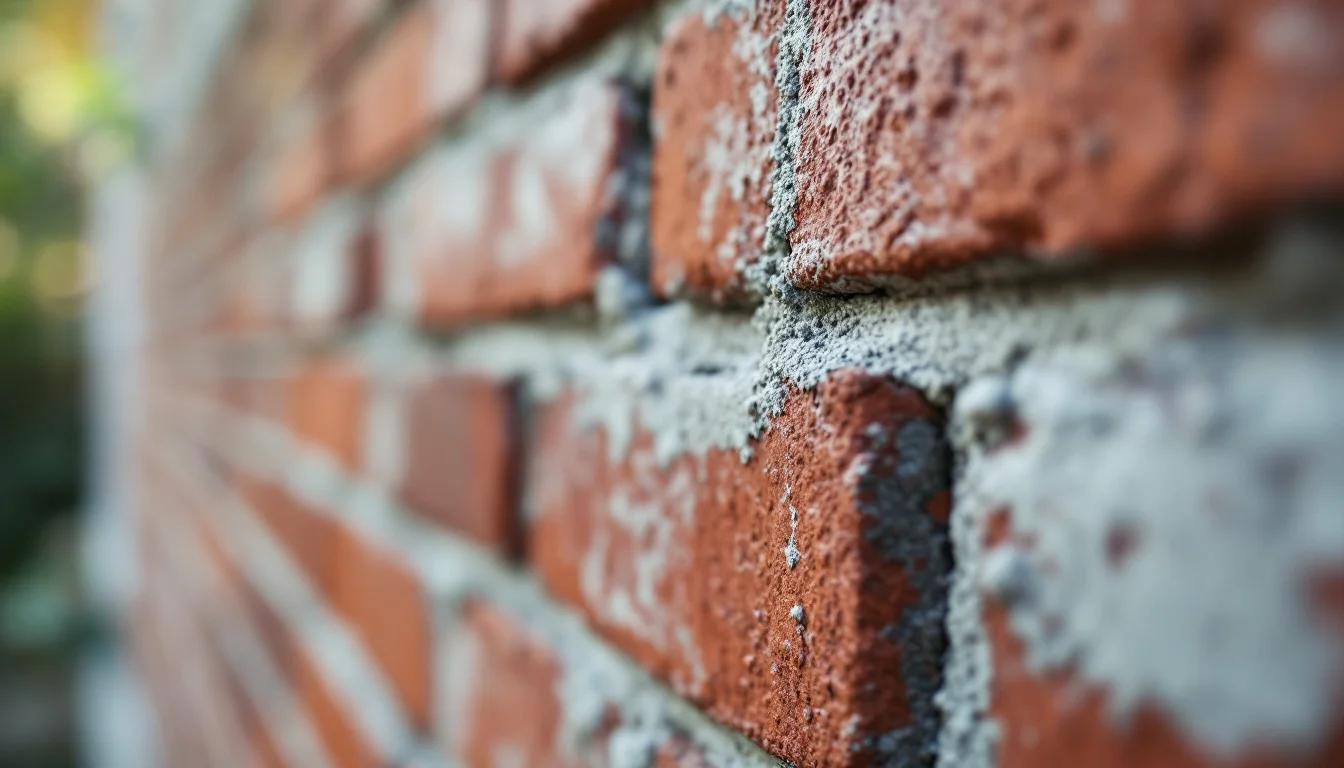
A crumbling mortar joint looks like a defect. In most cases, it is actually a system working as intended. Mortar between bricks or stones is designed as a sacrificial layer: it is meant to wear down and let moisture move through it before that damage reaches the masonry units themselves. The joint takes the weathering so the brick or stone does not have to.
Repointing is the maintenance response to that wear. It means removing the deteriorated mortar from the joints and replacing it with fresh material, restoring the wall's protective layer without touching the masonry behind it.
The problem is that not every repointing job actually restores that protection. The choice of mortar and the way the joint is finished can either continue the wall's natural moisture management or quietly interrupt it — and that single decision matters more than the crack that prompted the call in the first place.
Key Takeaways
- Mortar joints deteriorate from weather, pollution, moisture and structural movement; once they fail, water can get in and the joint's weather barrier is breached.
- Modern Portland cement sets faster and stronger than traditional lime mortar, but it is also less permeable — a mismatch that can trap moisture in a wall instead of releasing it.
- When old mortar is removed for repointing, it is typically taken out to a depth of roughly two to two-and-a-half times the width of the joint, to give the new mortar a proper key.
- Large-scale or historically significant repointing work calls for professionals experienced in masonry restoration, rather than a general handyman approach.
How Do You Know Joints Need Attention?
Because mortar is designed to deteriorate before the masonry does, some wear is normal and not yet a cause for concern. The question for an owner is when ordinary wear has tipped into a problem that needs action. A practical way to read the wall is to match what is visible on the outside to what is likely happening underneath.
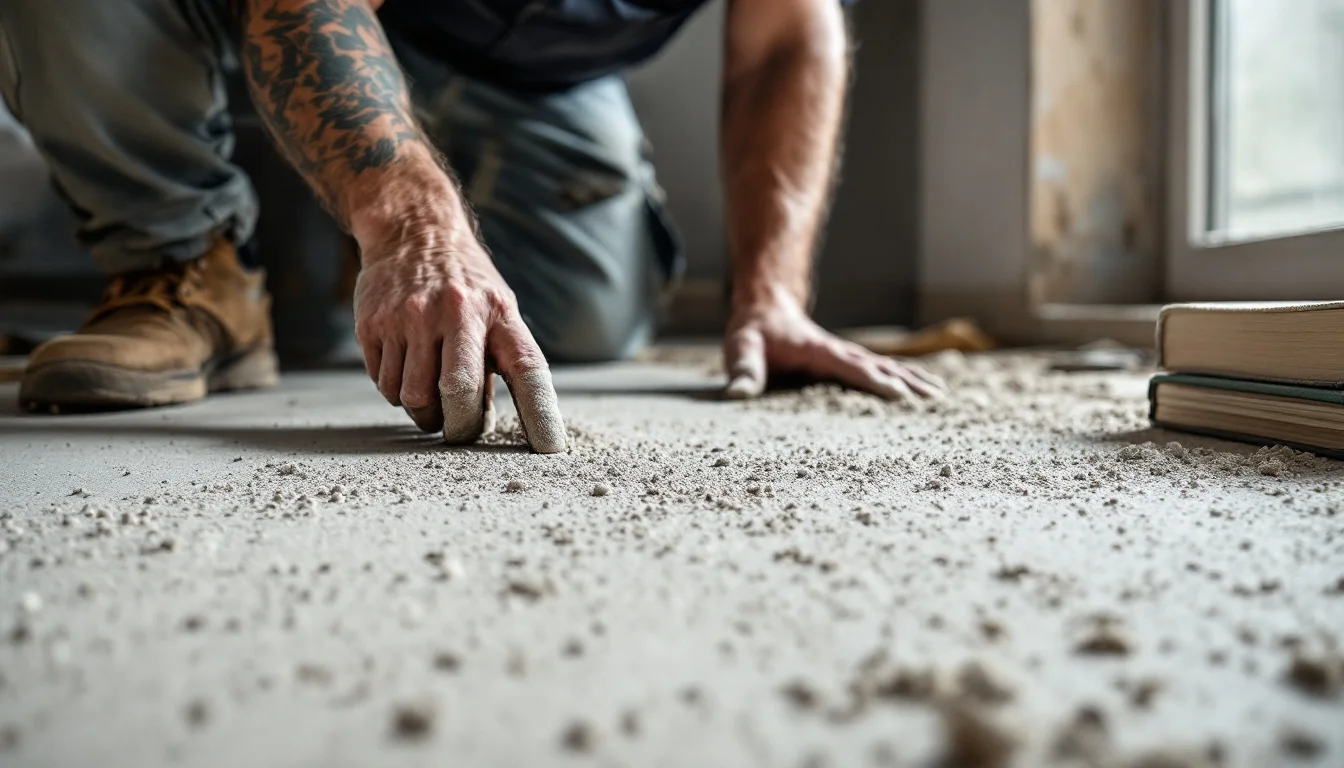
Powdery or crumbling joints. If mortar comes away as dust or small chunks when rubbed, the sacrificial layer is doing exactly what it was built to do. This is routine ageing, not an emergency, though it is worth noting for future maintenance planning.
Cracks running through the joint. A hairline crack across a mortar line suggests the joint can no longer flex with the small, constant movements of the wall — movement that lime-based systems are built to absorb. This is a step beyond simple surface wear.
Gaps deep enough to see into. Where mortar has receded well behind the face of the brick or stone, the joint has lost its ability to shed water, and the wall's weather barrier is effectively breached at that point.
Water stains or damp patches inside. By the time moisture shows up indoors, deterioration outside has usually been progressing for some time.
Each symptom sits on the same continuum: a joint that was built to wear down first, and a moment when that wear starts to let water reach parts of the wall it was never meant to touch.
What Mortar Should Go Back In?
Once a joint is confirmed to need repair, the next decision outweighs the crack that triggered the inspection: what the new mortar is made of. Most historic buildings were built with lime mortar. Portland cement is the newer material, and in restoration practice the two are treated as fundamentally different products, not interchangeable versions of the same thing.
Lime mortar is more permeable and more flexible than cement-based mortar. That permeability lets moisture that enters a wall find its way back out through the joints rather than the brick or stone itself, and the flexibility lets the joint move slightly with temperature and humidity changes without cracking. Portland cement sets faster and reaches higher strength sooner, which is part of why it became the default for general construction. But it is markedly less permeable, and in restoration practice that difference is treated as the central risk of repointing older masonry with it: moisture that would have escaped through a lime joint instead gets trapped behind a cement one.
Trapped moisture does not stay harmless. In a climate with freeze-thaw cycles, water locked inside a wall can expand when it freezes, and that expansion is what drives frost damage and spalling — typically affecting the brick or stone face next to the joint rather than the harder cement mortar itself, so the damage shows up in the very material repointing was supposed to protect.
Material choice is only half of the equation. A joint that is over-slicked or compressed during finishing becomes less breathable regardless of what it is made from, which again leads to cracking or moisture damage. This is why, on historic buildings, new mortar needs to match the original not just in composition but in colour, texture and strength: a correct mix applied with the wrong technique can still fail in the same way as the wrong mix.
The practical consequence is that a repointing job can look structurally sound on the day it is finished and still be setting up damage that only becomes visible years later, once a few winters have tested whether the wall can actually breathe the way it did before.
How Deep Should the Old Mortar Be Removed?
A competent repointing job starts before anyone touches a joint. In restoration practice, the first step is a thorough assessment: identifying the existing mortar type, evaluating the condition of both the mortar and the masonry units around it, and taking mortar samples for analysis. This is what allows the replacement mix to be matched rather than guessed at.
Once the assessment is done, removal follows a specific depth rule. Old mortar is typically removed to a depth of about two to two-and-a-half times the width of the joint. Going shallower leaves too little surface for the new mortar to bond to; going needlessly deeper risks disturbing masonry that is still sound.
Tool choice matters as much as depth. On historic structures, hand tools — mortar rakes, chisels, hammers and pointing trowels — are generally preferred over power tools, because the vibration from grinders and similar equipment can damage brick or stone edges that have already been weakened by age.
For an owner evaluating a contractor's proposal, or deciding whether a repair is within DIY scope, these three elements — a documented assessment, a removal depth proportional to the joint, and hand tools near older or fragile masonry — are a reasonable baseline to check for before work starts.
Rebuilding the Joint: Prep, Matching, and Tooling
With the old mortar out, preparation of the joint itself is what determines whether the new material bonds properly. The cavity is brushed free of dust and debris, then lightly misted with water before any new mortar goes in. Pre-wetting matters because dry masonry will otherwise pull water out of fresh mortar too quickly, and a mortar that loses its moisture too fast cracks and bonds poorly instead of curing evenly.
Matching the new mix to the old is a specific technical task, not a visual approximation. It involves:
- Sand that is similar in colour and texture to the original, since sand largely determines the finished joint's appearance
- The same binder as the original mortar — lime with lime, rather than substituting cement into a historically lime-based wall
- Ratios adjusted for workability and strength appropriate to the existing masonry, rather than a generic standard mix
The final layer is tooled to match the wall's original joint profile, and smears of mortar on the face of the brick or stone are avoided, since dried smears leave permanent staining. Tooling finishes the mechanical work of matching, while the mix underneath has already set the joint's long-term performance.
Curing and Color-Matching: The Step Most Owners Skip
The two final stages of a repointing job are easy to overlook because they happen after the visible work looks finished — and skipping them is one of the more common ways an otherwise correct repair underperforms.
Curing is the first. Newly repointed joints need to be kept moist and shielded from direct sun, wind and freezing temperatures for a period ranging from several days to several weeks, depending on the local climate and the mortar used. Without that protection, the mortar can shrink, crack, bond poorly to the surrounding masonry, or end up structurally weaker than it should be. Curing is effectively what converts a correctly chosen, correctly applied mortar into a joint that actually holds up — a good mix badly cured can still fail.
Colour is the second. New mortar can dry to a slightly different shade than the surrounding, weathered mortar, even when the mix has been matched carefully. Where that happens, a custom-tinted masonry stain is applied in thin, controlled layers to blend the new joints with the old ones.
For an owner, the practical implication is simple: a repointing job that still looks slightly different in colour a week after completion, or that the contractor is actively protecting from sun and frost rather than calling finished, is not necessarily behind schedule — that attentiveness is usually a sign the job is being done correctly.
When Repointing Goes Wrong — and When to Call a Professional
The cost of getting repointing wrong is not limited to redoing the joints. Improper repointing — whether from a mismatched mortar, poor tooling, or skipped curing — can lead to cracked or spalling masonry, moisture trapped behind an impermeable joint with the frost damage that follows, loss of a building's original appearance and character, and repair bills that are higher than if the work had been done correctly the first time.
Those stakes scale with the building. A small patch of repointing on a non-historic garden wall is a reasonable candidate for careful DIY work, provided the basics outlined above — correct removal depth, hand tools, a matched mix, proper curing — are followed.
Large-scale projects, or work on masonry with genuine historic or architectural significance, sit in a different category. In those cases, involving professionals with experience in masonry restoration is the more defensible choice, both because the diagnostic step of identifying the original mortar composition takes expertise most owners do not have, and because the consequences of a mismatch are not easily reversed once a wall has been repointed with the wrong material.
Conclusion
Repointing is often treated as a reactive repair, triggered by a crack or a damp patch that finally gets noticed. The way mortar wears and moves suggests a different framing: the decisions made on day one — which mortar, which depth, which curing regime — are what actually determine whether the wall is protected for the next few decades or merely patched for the next few years. The crack that prompted the call is rarely the real story; the mortar chosen to fix it is.